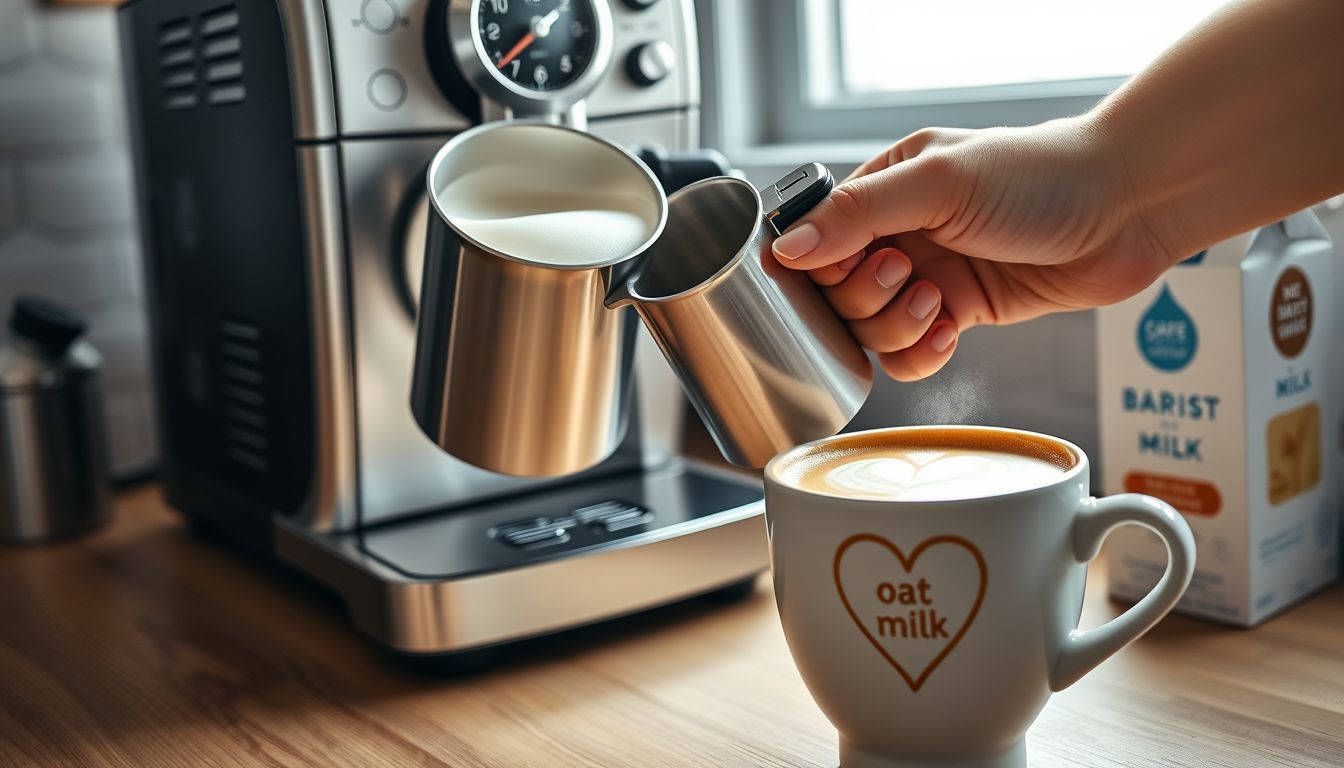
How to Steam Oat Milk for Perfect Latte Art: 3 Fixes That Actually Work
Learning how to steam oat milk for latte art requires different techniques than dairy milk. The first sign it’s going wrong is the sound.
Not the soft paper-tear hiss you want—more like aggressive fizzy soda. Then you pour, hoping for a tulip, and you get… beige bathwater with a few big bubbles rolling around like they pay rent.
Look, I’ll be honest with you: oat milk can be stubborn. I’ve watched brand-new baristas nail glossy microfoam on dairy in a week, then get absolutely humbled by oat. And at home—when you’re half-awake, your kid is asking where their other shoe is, and your machine takes forever to heat up—oat milk feels personal.
But it’s not you. It’s chemistry, temperature, and a couple small technique tweaks nobody explains on the box.
After all my years behind this counter, here’s the biggest “aha”: oat milk doesn’t want to be steamed as hot as you think. The sweet spot is 120–140°F (49–60°C). Past that, many oat milks lose structure fast, and your foam collapses into flat, thin liquid.
Let’s fix it—three ways that actually work in real kitchens, with real machines.
Quick Reference: Oat Milk Steaming Essentials
- Optimal Temperature: 120–140°F (49–60°C)
- Aeration Time: 2–4 seconds maximum
- Pour Timing: Within 30–45 seconds after steaming
- Starting Temperature: 35–40°F (2–4°C) cold from fridge
In this guide:
- Why oat milk behaves differently than dairy
- The exact temperature range for perfect oat milk microfoam
- Three fixes for common steaming mistakes
- How your espresso affects oat milk latte art
Why Oat Milk Microfoam Is Harder Than Dairy
Oat milk doesn’t have the same protein structure as dairy. With cow’s milk, proteins stretch and stabilize tiny bubbles, giving you that glossy, wet-paint texture that pours like melted ice cream.
Oat milk? It’s mostly water, starches, and added fats—plus stabilizers and emulsifiers depending on the brand. When it’s steamed, those starches can thicken… until they don’t. Push the heat too far and the oat milk foam can separate, or go dull and “dry,” like meringue that forgot why it showed up.
You can taste the difference, too. A well-textured oat latte smells like warm oatmeal cookies and toasted almonds. A scorched one gives off that faint, cardboardy steam note and drinks thin, almost watery, even if it looks foamy.
Actionable takeaways (do these before you steam)
Choose a barista-style oat milk. I’m naming names because it matters: Oatly Barista Edition, Califia Farms Barista Blend, and Minor Figures are consistently easier to texture. They’re formulated with a fat blend that behaves better under steam.
Shake the carton for 5–10 seconds. Real talk: most “my foam won’t work” problems start with unshaken oat milk. The fat and solids settle. If you pour the watery part, you’re steaming disappointment.
Use it cold. Start with oat milk straight from the fridge—35–40°F (2–4°C) if you can. Colder milk buys you time to build oat milk microfoam before you hit the temperature ceiling.
The Best Temperature for How to Steam Oat Milk: 120–140°F
Here’s the thing nobody tells you: most home oat milk latte art tutorials are quietly assuming dairy milk, steamed to 140–150°F (60–66°C).
That’s often too hot for oat.
For most barista-style oat milks, I see the best latte art texture when the pitcher lands around:
- 120–130°F (49–54°C) for clean hearts and tulips (more fluid, shiny)
- 130–140°F (54–60°C) for slightly thicker oat milk foam (still pourable)
Go beyond 140°F (60°C) and you’re playing roulette. Some cartons will hang on; others collapse into thin liquid with large bubbles that refuse to reintegrate.
If you’ve ever poured and watched your “foam” sit on top like a stiff cap instead of blending into crema, that’s often overheated oat milk. It looks puffy, but it’s not integrated. Latte art needs integrated foam—tiny bubbles suspended evenly so the milk flows like satin.
Actionable takeaways (how to hit the temp without fancy gear)
Use a thermometer if you can. A simple $10 clip thermometer or a digital instant-read works. Aim for 130°F (54°C) until you learn your machine.
No thermometer? Use the “hand test,” but with a lower target. With oat milk, stop when the pitcher feels hot but still holdable—about 2–3 seconds before you’d instinctively set it down. With dairy you might push further; with oat, don’t.
If you’re using an auto-frother (like the Breville Bambino Plus auto-steam): choose the lowest or medium temperature setting if you can. I’ve tasted plenty of “perfectly automated” oat lattes that were steamed a touch too hot.
Fix #1: Master the 3-Second Aeration Rule for Oat Milk Foam
At my café, when someone’s struggling with how to steam oat milk, I don’t change everything at once. I change two things: how much milk they’re steaming and how long they’re introducing air.
Most people over-aerate oat milk. They chase volume. They want that big café dome. But oat milk latte art doesn’t come from big foam—it comes from oat milk microfoam.
The setup that makes this easier
- Pitcher: a 12 oz (350 ml) pitcher is friendlier for a single home drink than a big 20 oz.
- Milk volume: fill to just below the spout base—usually 4–6 oz (120–180 ml) for a 6–8 oz latte.
- Machine examples: this works on a Rancilio Silvia, Gaggia Classic Pro, Breville Barista Express, and yes—even a Bambino with a little practice.
The technique (simple, repeatable)
- Purge the steam wand for 1–2 seconds. You’re clearing condensation so you don’t inject water into your milk.
- Tip position: start with the steam tip just kissing the surface, off-center.
- Aerate for 2–4 seconds max. You’re listening for that gentle hiss—like tearing tissue paper, not blasting air.
- Then sink the tip slightly and build a whirlpool. The whirlpool is what polishes the bubbles into that glossy “wet paint” texture.
- Stop at 130°F (54°C). If you like thicker foam, go to 135–140°F (57–60°C)—but don’t go past.
Actionable takeaways (what to do when it still looks wrong)
If you see big bubbles right away, you introduced too much air. Next try: aerate for 2 seconds, not 6.
If it looks thin and you can’t get any oat milk foam at all, you might be too deep too soon. Next try: keep the tip at the surface for one extra second, then drop.
And if your machine is weak on steam, don’t panic. Use less milk, a smaller pitcher, and focus on whirlpool. Weak steam can still make microfoam—it just needs a tighter setup.
Fix #2: Prevent Oat Milk Foam From Collapsing
Even if you steam perfectly, oat milk is less forgiving once it sits. Dairy gives you a little grace period. Oat milk wants you to pour now.
I’ve watched plenty of people do the hard part right—then answer a text, wipe the counter, hunt for a clean spoon—and by the time they pour, the oat milk foam has separated. The pitcher looks like it has two personalities: thin milk at the bottom, dry foam at the top (stiff, airy bubbles that won’t pour).
The “polish” routine (20 seconds that saves your latte art)
Right after steaming:
- Tap the pitcher on the counter 2–3 times to pop surface bubbles.
- Swirl aggressively until it looks like glossy paint and moves as one body.
- Pour immediately—within 30–45 seconds of finishing steam.
When it’s right, you’ll see it. The surface goes from bubbly to shiny. The milk rolls in the pitcher like satin ribbon. It smells warm and sweet, like vanilla cereal milk, not cooked oats.
Pouring cues that actually help
- Start high (about 3–4 inches / 7–10 cm above the cup) to integrate milk and crema.
- Then go low (near the surface) to draw your design.
- If the milk “blobs” and won’t flow, it’s too thick/dry—usually too much air or too hot.
Actionable takeaways (latte art training wheels)
Use a wider cup. A 10–12 oz wide cappuccino cup makes learning easier than a tall narrow mug. More surface area = more time to draw.
If your milk separates anyway: pour into a second pitcher (a quick “pitcher-to-pitcher” transfer) and swirl again. It re-integrates surprisingly well for oat.
Practice with water + a drop of dish soap when you’re learning motion. I know, it sounds silly, but it lets you practice the wrist movement without wasting coffee. Then apply the same motion to your real drink.
Fix #3: Your Espresso Might Be the Problem
Here’s a curveball: sometimes your oat milk is fine. It’s your espresso base that’s making oat milk latte art harder.
If the shot is thin, under-extracted, or the crema is nonexistent, your milk won’t “canvas” the way you want. Latte art is contrast: creamy white microfoam against a darker crema surface.
At the shop, when we’re dialing in, I can tell from the first pour if the espresso is going to play nice.
A home espresso recipe that behaves
Try this as a baseline:
- Dose: 18 g
- Yield: 36 g (a 1:2 ratio)
- Time: 25–32 seconds
- Brew temp: around 200°F (93°C) if your machine allows adjustment
If you’re grinding at home, a grinder like the Baratza Encore ESP, Fellow Opus, or Niche Zero will make this dramatically easier than a blade grinder (I say that with love, but it’s true).
Bean choices that flatter oat milk
Oat milk brings sweetness and a cereal-like roundness. Pair it with coffees that can stand up to that without tasting muted.
- A natural Brazil (think cocoa, toasted nuts, low acidity) turns into something like melted chocolate ice cream with oat.
- A washed Colombia can give you caramel and red apple brightness that still reads clearly through oat.
- A delicate washed Ethiopia Yirgacheffe—all jasmine and lemon peel—can get a little shy in oat milk unless your espresso is dialed and your milk isn’t too hot.
If you want a dependable “latte coffee,” grab something like Counter Culture Hologram or Intelligentsia Black Cat style blends, or a Midwest favorite from Madcap Coffee. They’re built to taste like coffee even when milk shows up.
Actionable takeaways (make your canvas better today)
Use fresh coffee (2–21 days off roast) if possible. Stale coffee often has weak crema and flat flavor—your art won’t pop.
If your latte tastes hollow: try shortening the shot slightly (e.g., 18 g in, 32–34 g out) to increase intensity, especially with oat milk.
If your latte tastes sharp or sour: go a touch finer and aim for 30–32 seconds. Under-extracted espresso can taste like lemon rind in a bad way, and oat milk won’t magically fix it.
Make It Easier on Yourself
I’ve watched people fall in love over lattes and I’ve watched people cry into them. Coffee is rarely just coffee. It’s a pause button you can hold in your hands.
So if your oat milk has been bullying you, let’s stop giving it the upper hand. Steam it cooler—120–140°F (49–60°C), with 130°F (54°C) as your north star. Aerate for 2–4 seconds, swirl like you mean it, and pour before life interrupts.
And when you finally get that first clean heart? The kind that sits glossy on top, white against caramel crema, smelling like toasted sugar and warm grain?
Send a picture to someone who’d care. Or just stand there for a second and enjoy it.
You built something good in your own kitchen today. That counts.
Ready to practice? Grab your favorite barista oat milk and try the 130°F rule on your next latte.
Frequently Asked Questions
Why does my oat milk foam collapse?
Oat milk foam usually collapses for one of two reasons: it’s been steamed too hot (past 140°F / 60°C), or you waited too long before pouring. Unlike dairy, oat milk has no forgiving grace period—steam it cooler and pour within 30–45 seconds for best results.
What temperature should I steam oat milk to?
The sweet spot for oat milk is 120–140°F (49–60°C). Aim for 130°F (54°C) as your starting point. This is noticeably cooler than dairy milk, which is typically steamed to 140–150°F (60–66°C).
Why won’t my oat milk froth?
Three common culprits: you’re using a non-barista oat milk (switch to Oatly Barista, Califia Barista Blend, or Minor Figures), you didn’t shake the carton (the fats settle), or your steam tip is too deep in the milk. Keep the tip at the surface for 2–4 seconds to introduce air before submerging.
Can I do latte art with regular oat milk?
It’s possible but much harder. Regular oat milk lacks the added fats and stabilizers that help foam hold its structure. Barista-formulated oat milks are specifically designed to texture well under steam—they’re worth the small price difference.
Why does my oat milk taste burnt?
You’ve overheated it. Once oat milk passes 140–145°F (60–63°C), the starches break down and you get that flat, cardboardy flavor. Use a thermometer until you learn your machine, and stop earlier than you think you need to.
Share your latte art wins on Instagram and tag us @coffeelogik!
Next, learn about:
- Grinding coffee beans for espresso
- Choosing the best home espresso machine
- Mastering pour-over techniques for single origin coffee